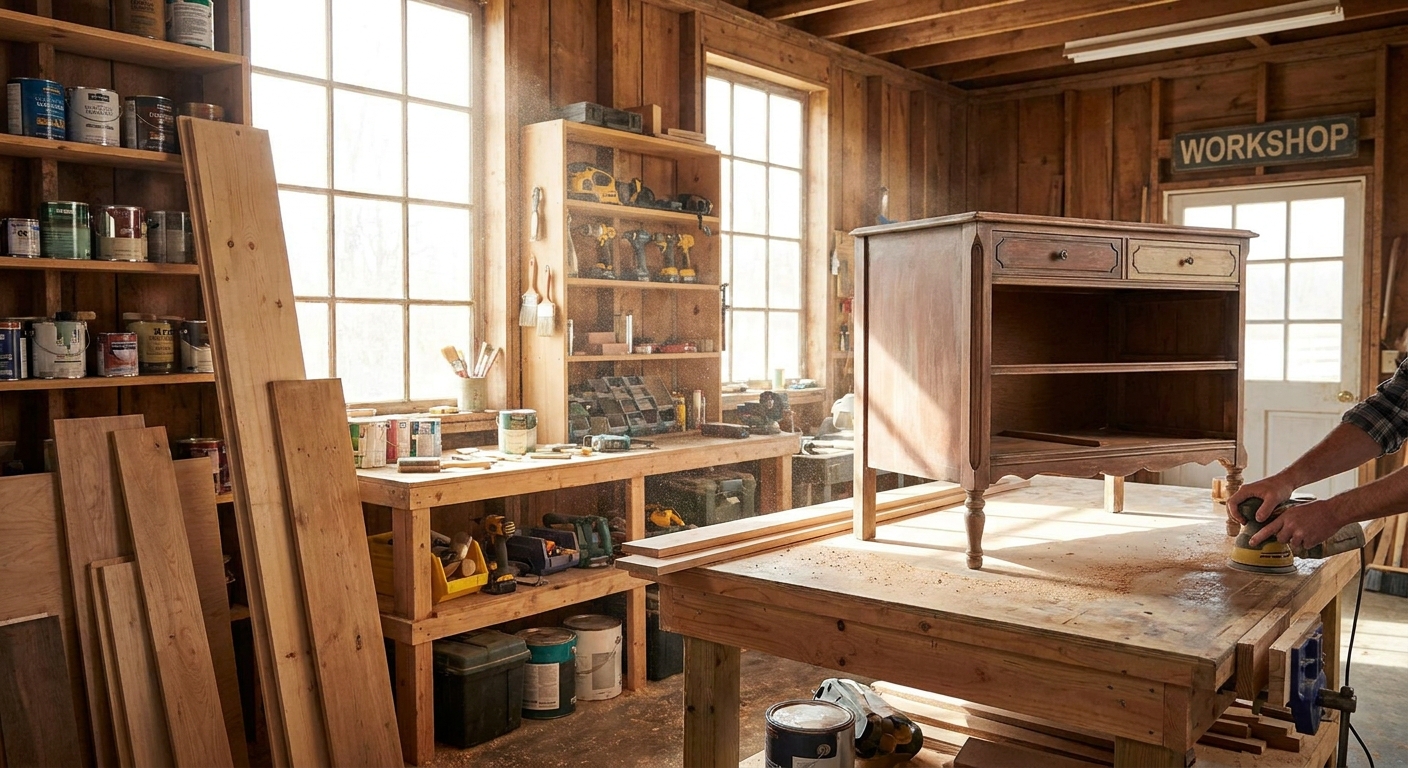
Most furniture refurbishing businesses fail before they start because the founder tries to work out of a bedroom or a cramped balcony. A dedicated workshop — even a single garage bay — is what separates a hobby from a repeatable resale operation in 2026.
TL;DR
A workshop is what lets you take in three or four pieces at once instead of finishing one dresser at a time on a tarp in the driveway. Reps who build a resale business out of the garage consistently move more inventory per month than people refinishing on the fly, simply because the space is set up to hold work-in-progress without shutting down the rest of the house.
Refurbished furniture also sells at a different price point than as-is pieces. A stripped-down dresser with a fresh coat of paint and new hardware reads as a finished product to a buyer, not a project — and that perception shift is the entire point of having a workshop instead of a folding table in the yard.
Walk the space with a tape measure before spending a dollar on tools. You need enough room to fully open a dresser drawer, lay a tabletop flat, and walk around a piece on all four sides — most people underestimate this and end up refinishing furniture at an angle.
Common mistake: choosing a space based on square footage alone and ignoring the door width. A 36-inch doorway won't get a large sectional or armoire into the room.
Install or confirm a 220V circuit if you're running a compressor, and add at least two work lights rated at 5,000 lumens combined so you can see brush marks and drips before they dry. Bad lighting is the number one reason refinished pieces get returned or re-listed at a lower price.
Expected outcome: you should be able to see fine scratches and uneven stain from three feet away under your work lights.
Sanding and finishing don't mix well in the same six feet of space — dust that settles on wet stain or paint ruins the surface. Section the workshop into a sanding zone near your shop vacuum and a finishing zone with better airflow, even if it's just two ends of the same garage bay.
Common mistake: spraying finish in the same spot you just sanded without letting dust settle for at least 20 minutes.
Before you touch a single piece, set aside a clean wall with neutral background and a light source for photos. Buyers respond to clean, well-lit listing photos, and this corner also doubles as your quality-check spot before a piece goes out the door. If you're refinishing dining tables, this is also where you'll check for wobble or uneven finish under direct light.
Label bins for "strip," "repair," "sand," and "finish" so hardware and small parts don't get mixed between pieces. Losing a drawer pull or a matching screw is a small problem that turns into a delayed sale when you can't find the part three weeks later.
Expected outcome: any piece in your workshop should be identifiable by stage within 10 seconds of walking in.
A workbench with a vise and multiple clamp points matters more for furniture refurbishing than a table saw does. Reps who flip dressers and nightstands spend far more time gluing joints and clamping veneer than cutting new wood.
Common mistake: buying a full table saw setup before a proper workbench. Most furniture refurbishing work is repair and finish, not fabrication.
Run your fan or open your garage door and time how long it takes for a strong odor — ammonia, or a citrus cleaner — to clear the space. If it takes more than 15 minutes with the door open, your ventilation isn't strong enough for polyurethane or spray lacquer, and you need a stronger exhaust fan before working with solvent-based finishes in 2026.
Turn workshop output into income
Pick up retailer returns to refurbish and resell as a Sharetown Rep.
Once your workshop is running, the bottleneck shifts from space to inventory. Reps who source consistently — through retailer returns, estate sales, or local pickups — keep the workshop full without overcrowding it, which is the entire reason to build one in the first place.
How much space do I need to build a furniture refurbishing workshop?
A single garage bay of roughly 200 square feet covers most furniture refurbishing work in 2026. You need enough room to fully open drawers and walk around a piece on all sides.
How much does it cost to set up a furniture refurbishing workshop?
A basic setup costs $1,500 to $3,000 in 2026, covering a sander, shop vacuum, clamps, and finishing supplies. Costs rise if you add a spray booth or a compressor-driven sprayer.
Do I need 220V power for a furniture workshop?
Only if you're running a compressor or a larger stationary tool. Standard 110V handles a sander, shop vacuum, and hand tools without issue.
What ventilation does a furniture refinishing workshop need?
You need airflow strong enough to clear solvent odor in under 15 minutes with a door or window open. A garage door left cracked plus an exhaust fan usually meets this.
Can I refurbish furniture in a basement instead of a garage?
Yes, as long as you have ventilation and enough clearance for large pieces. Basements without exterior venting struggle with solvent-based finishes more than garages do.
What's the biggest mistake people make setting up a furniture workshop?
Buying a table saw before a proper workbench with clamping points. Most furniture refurbishing work is repair and finish, not cutting new wood.
How do I stop dust from ruining my finish coat?
Separate your sanding zone from your finishing zone by at least six feet and let dust settle for 20 minutes after sanding before applying finish.
Is it worth building a workshop for occasional furniture flipping?
If you're finishing more than two or three pieces a month, a dedicated space pays off in speed and finish quality. Below that volume, a driveway setup with a tarp works fine for 2026 volumes.
The piece of a workshop people skip most often is the staging corner — and it's the one that catches finish flaws before a buyer does. A five-minute check under real light before listing a piece saves far more time than the return or renegotiation that follows a bad photo.