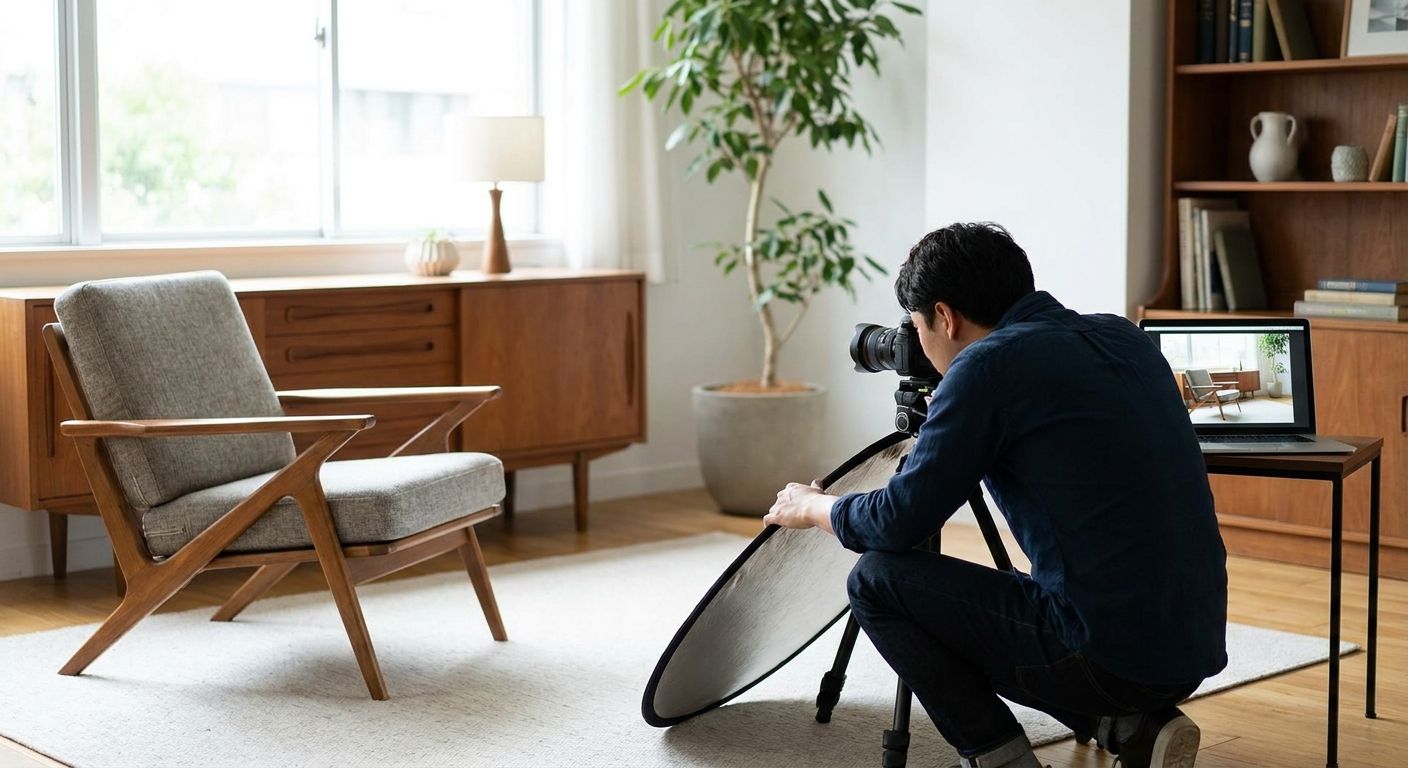
Bad photos are the number one reason a furniture listing sits for weeks instead of selling in days, and fixing that costs nothing but 20 minutes and a window with decent light.
TL;DR
Buyers scrolling Facebook Marketplace or OfferUp decide in under three seconds whether to tap a listing. One dark, blurry photo of a couch shot from six feet away with a phone flash says the seller does not care, and they scroll past. A clean set of photos does the opposite job: it answers the questions buyers would otherwise message you about, which means fewer flaky leads and faster closes. Anyone flipping furniture as a side hustle in 2026, from a garage operation to a full Sharetown route, lives or dies by this one skill.
Good photography also protects your price. A well-lit, well-composed photo set signals a serious seller, and serious sellers get lowballed less. Before you think about how to price used furniture before you resell it, get the photos right. The two work together, but photos earn the click.
Dust, pet hair, and stray items in the frame read as neglect even when the furniture is in solid shape. Wipe down wood surfaces, vacuum upholstery, and clear anything within five feet of the piece before you pick up your phone.
Staging does not mean a magazine shoot. It means clearing the background so the furniture is the only thing the eye lands on. A dresser shot against a cluttered garage wall looks like junk; the same dresser against a blank wall looks like inventory. Common mistake: shooting in the exact spot the piece was dropped, boxes and tools still in frame.
Position the piece near a window and shoot between 10am and 2pm, when daylight is strongest and most neutral. Overhead bulbs and phone flash both cast yellow or blue tints that misrepresent wood tone and fabric color, which leads to disappointed buyers at pickup.
Indoors, turn off every overhead light and let window light do the work. Bounce it with a white sheet or poster board if one side falls into shadow. Outdoor pieces like patio furniture do best in open shade, never direct midday sun, which blows out highlights and drops hard shadows. Common mistake: shooting after dark with flash because that is the only free time. The result looks flat and washed out every time.
Shoot the front straight-on, a three-quarter angle from each side, and the back if it will be visible in a room. For a dresser or nightstand, add one shot with a drawer pulled open showing the interior and the slide.
Every angle you skip becomes a message in your inbox asking for more pictures, and most of those buyers vanish once you send them. A full angle set turns a curious scroller into a buyer with zero back-and-forth. If you work a category like flipping dressers and nightstands, drawer interiors and hardware close-ups matter more than the overall silhouette. Common mistake: posting only a front-on shot because it is the fastest one to take.
Furniture photographed alone against a blank wall gives buyers no sense of real size, and size mismatches are a top reason pickups get canceled. Put a common object in one frame, such as a soda can on a shelf or a person standing beside a sofa, so scale reads instantly.
Listing exact dimensions in the description helps too, but a visual reference does convincing work that a number cannot. Common mistake: relying only on text dimensions and assuming buyers picture 72 inches correctly in their head.
A scuff, a worn armrest, or a small stain gets its own close-up instead of being cropped out. Buyers who arrive expecting mint condition and find an unlisted flaw will walk, and some leave a bad review before they even negotiate.
Honest flaw photos speed sales up because they pre-qualify buyers who do not mind the imperfection. You stop burning Saturdays on people who cancel in the driveway. Common mistake: cropping tight to hide a stain, which buyers spot the moment they show up.
Use your phone's built-in editor to nudge brightness and contrast and straighten a crooked horizon. Skip color filters and saturation boosts, which misrepresent the finish and create the same disappointed-buyer problem as bad lighting.
Ten seconds of editing per photo is plenty. Anything past that starts working against you. Common mistake: over-brightening until wood grain and fabric texture disappear into a white blur.
Marketplace apps use your first photo as the thumbnail, so it must be the cleanest full-piece shot you have, never a flaw close-up or an odd angle. Follow it with the angle shots, then the material detail, then the flaw photo last.
That order mirrors how a buyer evaluates a piece in person: whole thing first, details second. Common mistake: leading with an artsy close-up that fails to show what the item even is at thumbnail size.
Turn better photos into steady income
See how Sharetown reps pick up, photograph, and resell returned furniture for profit.
Once the photo workflow is consistent, the bottleneck moves to pricing and description writing. Fix that next so your listings convert at the rate your photos deserve, and build the habit into every pickup you make in 2026.
What is the best time of day to photograph furniture for resale?
Between 10am and 2pm near a window, when natural daylight is strongest and most color-accurate. Overhead indoor lighting and phone flash both distort wood tone and fabric color.
How many photos should a furniture listing have?
Six minimum: a front shot, two angle shots, one material close-up, one honest flaw shot, and one with a scale reference. Single-photo listings give buyers a reason to keep scrolling.
Do I need a professional camera to sell furniture online?
No. A smartphone camera is enough for marketplace listings in 2026, because lighting and composition matter far more than sensor quality for furniture resale photos.
Should I show flaws in furniture photos?
Yes. Photograph scuffs, stains, and wear directly instead of cropping them out. Buyers who see the flaw upfront rarely cancel a pickup or renegotiate on arrival.
Is video better than photos for selling furniture?
Video works as a supplement, not a replacement, and helps most with upholstered pieces where cushioning is hard to judge from stills. A six-photo set is still the primary listing content.
What background should I use for furniture photos?
A plain wall, garage door, or driveway, because a blank background removes clutter that pulls attention off the item. A taped-up bedsheet works as a fast indoor backdrop.
Why do my furniture photos look worse than the actual item?
Poor lighting is the usual cause, followed by zooming in too close, which distorts proportions and color. Fix both before assuming the furniture itself is the problem.
How do I photograph furniture to show its true size?
Put a common object such as a soda can or a person in at least one frame and list exact dimensions in the text. Size mismatches cause more canceled pickups than condition disputes.
The photo that moves a listing fastest is not the polished front shot. It is the honest close-up of the one flaw, because it proves you are hiding nothing and cuts the messaging back-and-forth to almost zero. Reps who bake that habit into every pickup, whether it is a returned sectional or a treadmill, spend less time answering questions and more time closing sales in 2026.